Welcome to Saha Documentation!
Thanks for Buying
First of all, thank you for buying this theme. To make your experience pleasant, we've added as much info as needed in this documentation. If you're stuck with anything, please refer to support forums.
- Created by: Theme Junkie
- Version: 1.0.0
- Support Site: Support Forums
Installation
There are two methods to install the theme. If the normal installation method (a) is not supported by your web host, you will have to use the alternate option (b).
a. Normal Installation
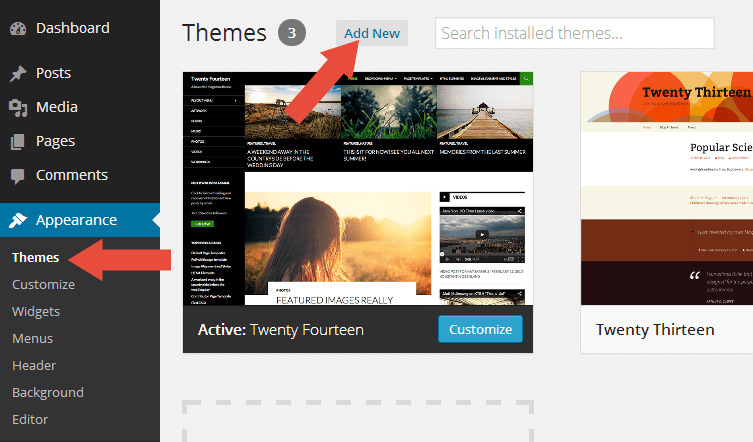
- Log into your WordPress admin panel and go to Appearance » Themes
- Click the Add New button at the top.
- Click the Upload Theme button at the top.
- Click the Choose File button and navigate to the location of the theme zip file.
- Click Install Now to begin the installation.
- Wait for the success message, then click Activate.
b. FTP Installation (alternate method)
- Unzip the theme zip file.
- Using an FTP client to access your host web server. Go to
/wp-content/themes/and place the theme folder inside it. - Log in to your WordPress admin panel and go to Appearance » Themes
- Locate the theme thumbnail and click the Activate link.
Child Theme
WordPress child theme allows you change the functionality of the theme without having to edit the original/parent theme template files. If you plan to making any customization, we recommend to create a child theme instead of editing the theme template files. Since the child theme is stored separately, you don't need to redo the changes next time you upgrade the theme.
Creating a Child Theme
There's a plugin you can use that will create a child theme from within the WordPress dashboard: http://wordpress.org/plugins/child-theme-configurator/ or you can download Saha blank child theme.
More About Child Theme
You can read more about Child theme on WordPress Codex →
Regenerate Thumbnail
If you use this theme for existing website, we recommended you to install Force Regenerate Thumbnails plugin to fix the image sizes. Every theme has different image dimensions, so this is important step to do.
How To Use It?
- After you install it, go to Tools > Force Regenerate Thumbnails
- Click the Regenerate All Thumbnails button
- The process depends on how many images on your website. If you only have 10-30 images then process only takes a few minues.
- After the process done, you can deactivate and delete the plugin.
Install Recommended Plugins
There are several plugins we recommend you to install. Some of this plugins will extend the theme so you'll get the maximum feature in this theme.
Recommended Plugins
1. Page Builder by SiteOrigin
Build responsive page layouts using the widgets you know and love using this simple drag and drop page builder.
2. SiteOrigin Widgets Bundle
A collection of all widgets, neatly bundled into a single plugin. It's also a framework to code your own widgets on top of.
3. WooCommerce
WooCommerce is a powerful, extendable eCommerce plugin that helps you sell anything. Beautifully.
4. YITH Woocommerce Compare
YITH WooCommerce Compare allows you to compare more products of your shop in one complete table.
5. YITH WooCommerce Wishlist
YITH WooCommerce Wishlist add all Wishlist features to your website.
6. YITH WooCommerce Ajax Search
YITH WooCommerce Ajax Search allows your users to search products in real time.
How to Install the Plugins
- Log into your Dashboard page.
- Go to Appearance » Install Plugins.
- Click install link below the plugin you want to install.
Translation & Internalization
All of our themes include a language file to make translating to a different language easy. Inside the theme folder /wp-content/themes/themename/languages, you'll find a language file named themename.pot. Or in this theme file named saha.pot
Configure WordPress
Before translating the theme, you'll need to make sure WordPress is setup correctly with your locale. Open wp-config.php and modify the line below.
/**
* WordPress Localized Language, defaults to English.
*
* Change this to localize WordPress. A corresponding MO file for the chosen
* language must be installed to wp-content/languages. For example, install
* de_DE.mo to wp-content/languages and set WPLANG to "de_DE" to enable German
* language support.
*/
define("WPLANG", "");
Translating the Theme
- Download and install Poedit.
- Open postboard.pot in Poedit. Translate as needed.
- Save the file with the locale. For example, if you translate the theme to German language then you would save your files as de_DE.po.
- Copy both these files(de_DE.po and de_DE.mo) under the languages folder of postboard.
Menu (and Mega Menu) Setup
Saha supports the custom menu function to allow you to setup your menus. You can set it through following steps.
Creating Standard Menu
- Go to Appearance » Menus .
- To create a new custom menu, click the create a new menu link, give the menu a name, and click Save Menu button.
- You can add pages, categories, custom link's or products to the menu using the boxes at the left, add items to the menu and drag/drop to arrange them.
- And, be sure to select Top Menu Left, Main Menu, User Menu or Footer Menu as the Theme Location before saving your menu.
- When you are done, click Save Menu
Menu Options
- Enter Icon Class: Enter the class of your icon Font Awesome or Simple Line Icons, e.g fa fa-anchor.
- Enable Mega Menu: This option is to create a mega menu, see below.
- Disable link: Check this box to disable a link when clicking with the mouse.
Creating Mega Menu
We will see all the options to create a mega menu.
Add Mega Menu
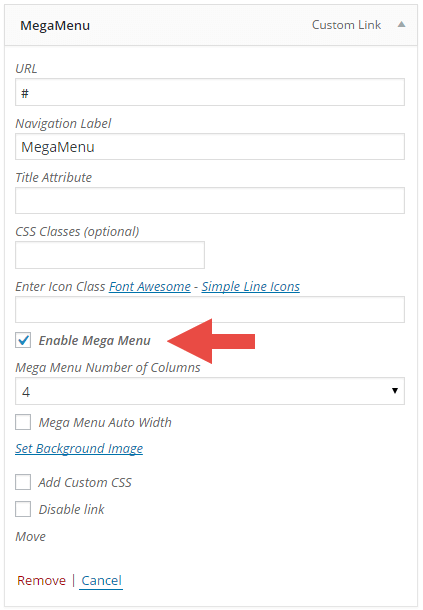
- Go to Appearance » Menus and select your menu.
- Expand the item you wish to add mega menu to by clicking the arrow icon.
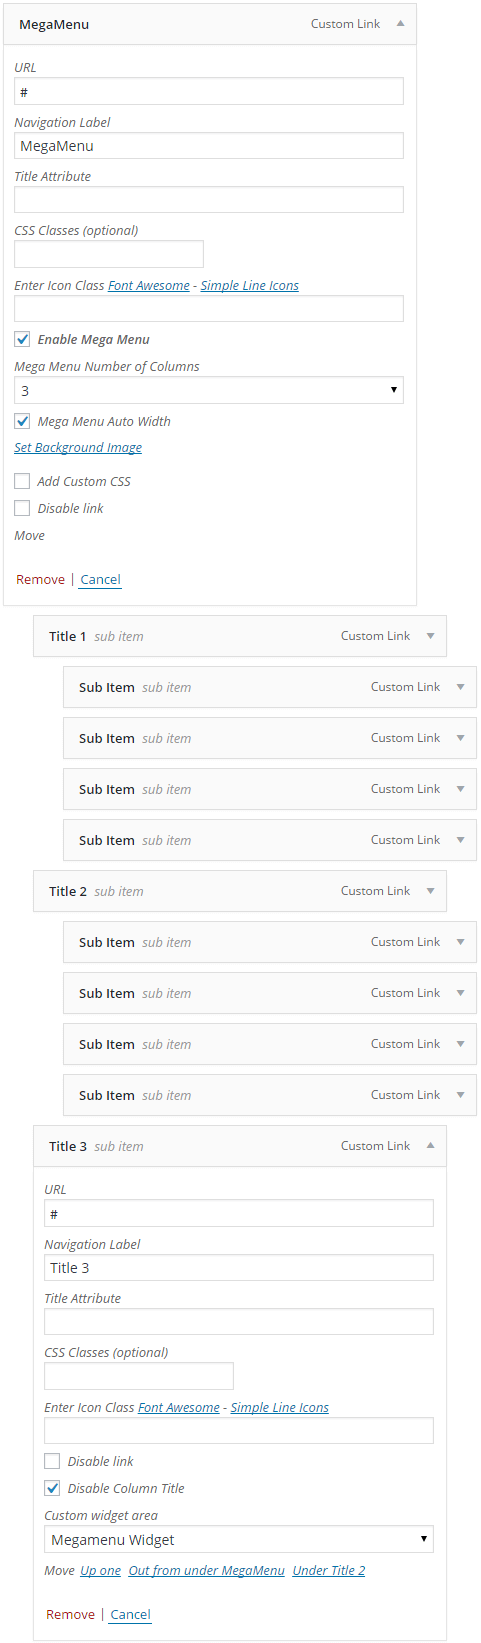
- Click on Enable Mega Menu .
-
When you click on Enable Mega Menu , other options appear:
- Mega Menu Number of Columns: select the number of columns for your mega menu.
- Mega Menu Auto Width: this option is to disable the full width of your mega menu.
- Set Background Image: add an image to your mega menu.
- Add Custom CSS: This option will allow you add custom styles to your mega menu.
- Save Menu. Next configure sub-items (below).
ImportantYou can use the mega menu only with the Main Menu and parent/top-level item
Configure Mega Menu Items
To make mega-menus work, you have one additional step of adding sub-items.
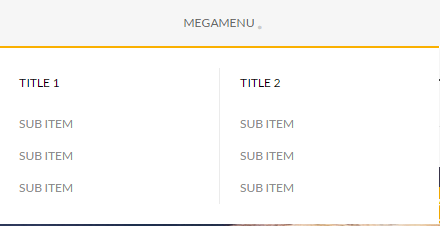
You can add between 2 and 6 columns.
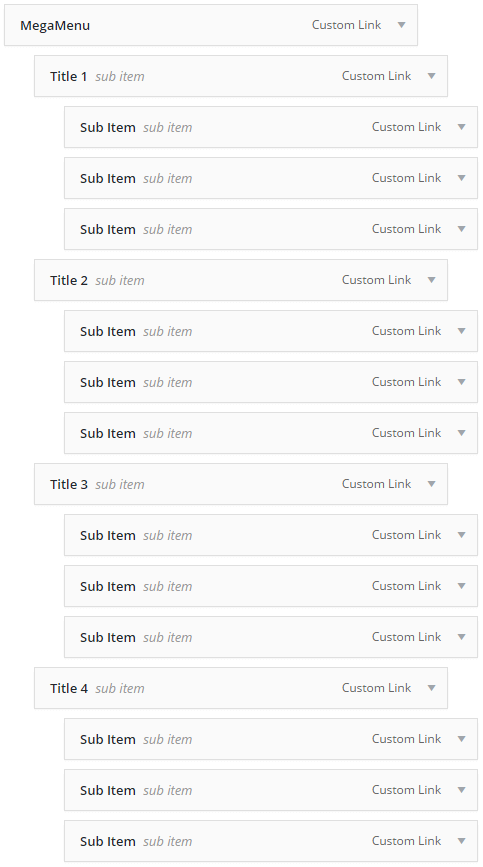
Result:

Mega Menu Auto Width
For the example, I will create a mega menu 2 columns.
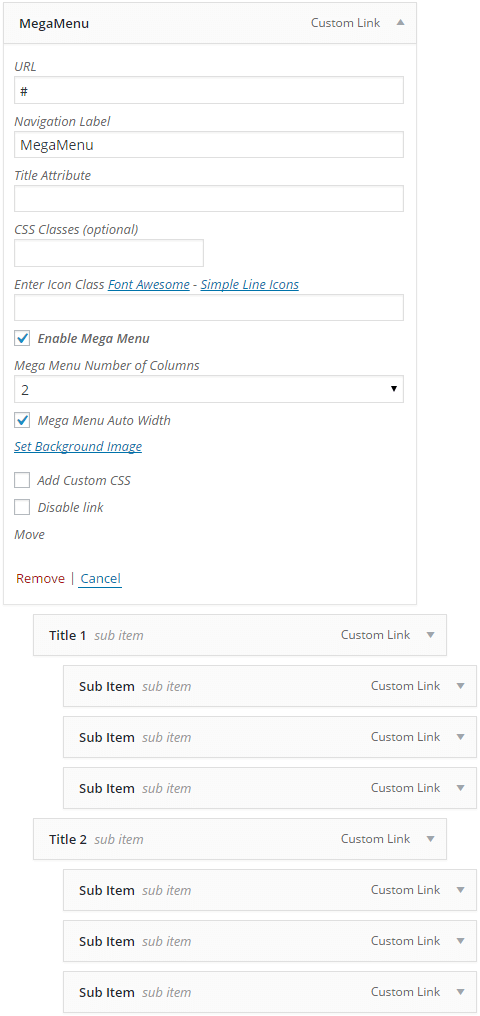
Result:
Add Image and Custom CSS to your Mega Menu
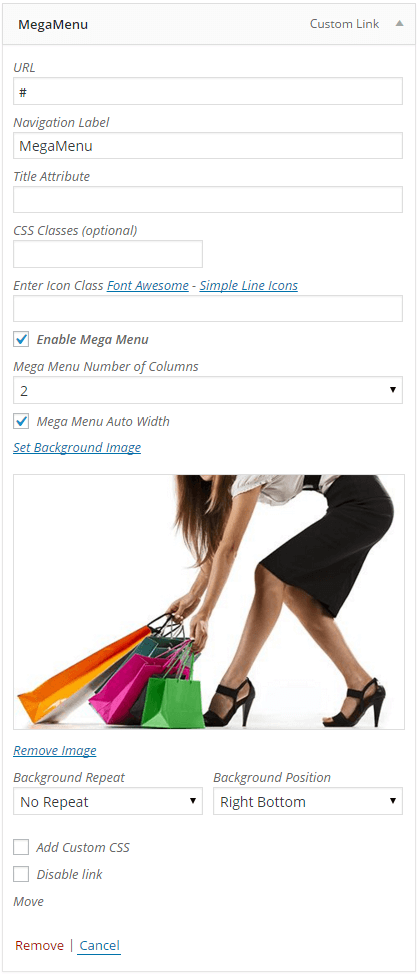
- Click on Set Background Image and select or upload your image.
- Select the Repeat and the Position of your image.
- Save your menu.
Result:
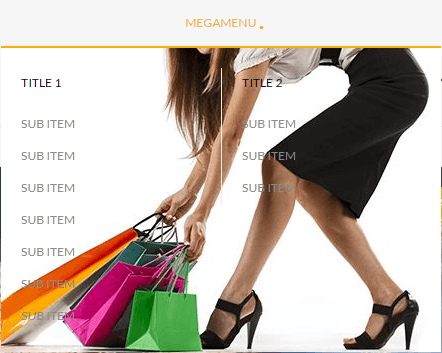
Now, let's add custom css to our mega menu for the image look right.
- Click on Add Custom CSS and enter your css in Mega Menu Styles.
- For my mega menu, I've added the following custom css: min-width: 580px; padding: 20px 245px 20px 0;
- Save your menu.
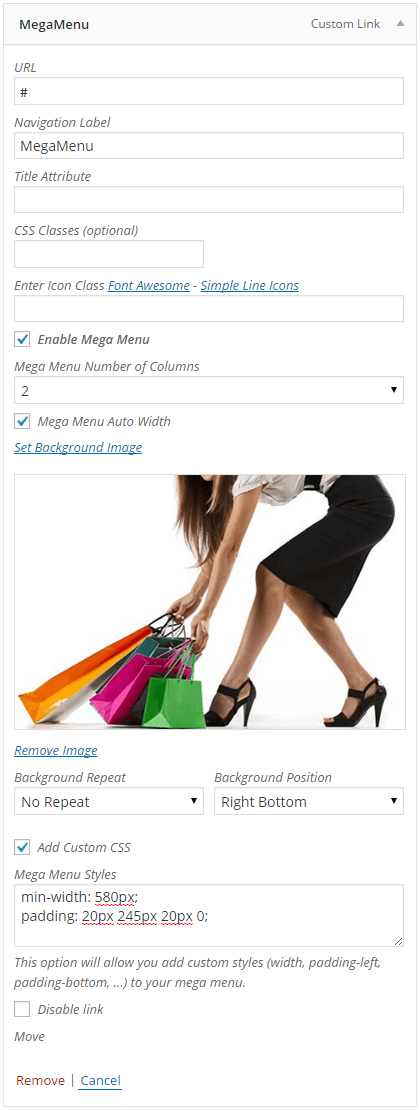
Result:
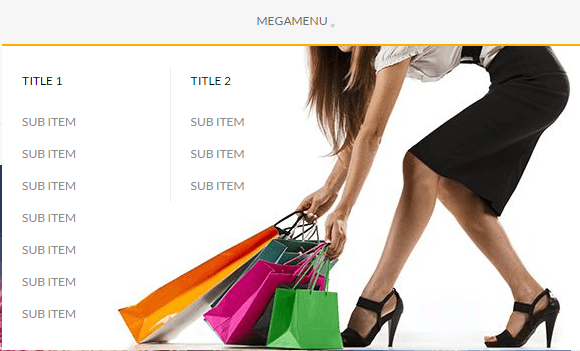
Add Widget to your Mega Menu
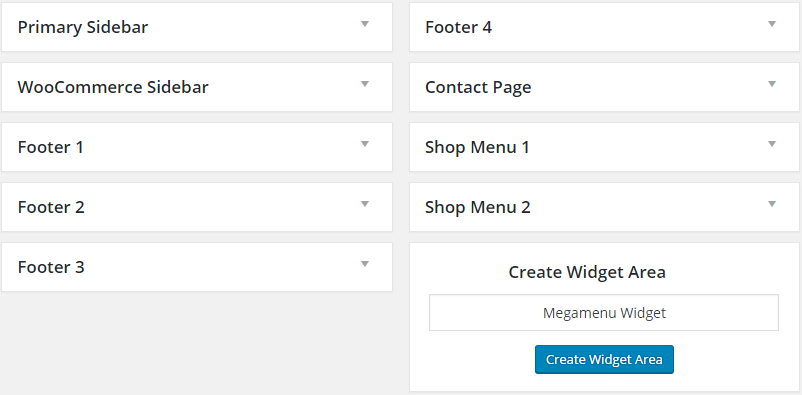
- Go to Appearance » Widgets .
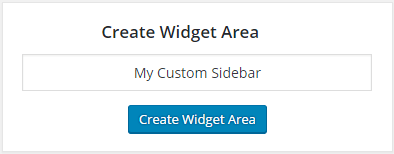
- Create a new widget area.
- Enter a unique name and click on Create Widget Area.
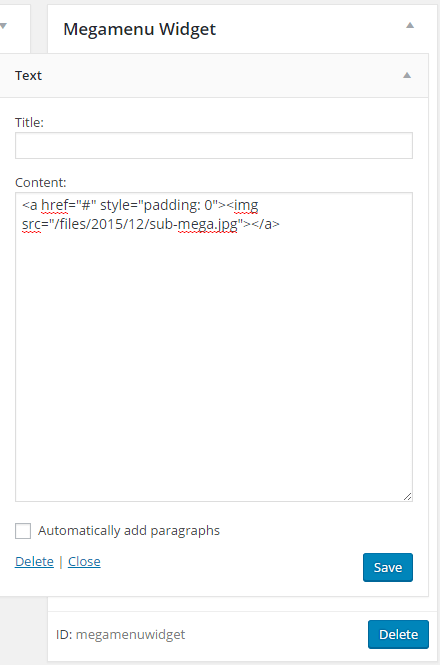
- Drag the widget you want in your new widget area.
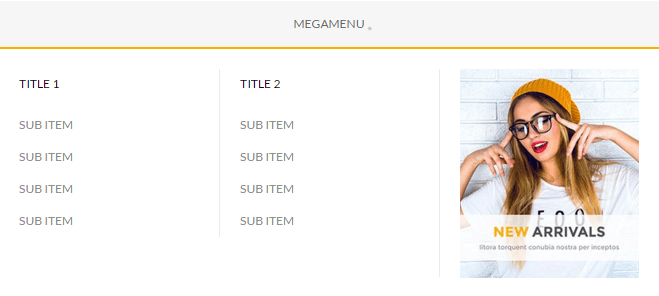
- For the example, I will used the Text widget to insert a banner in my mega menu. .
- Configure your widget.
- Go to Appearance » Menus .
- Add or edit a Parent Menu .
- Select your widget area in Custom widget area .
- If you want to hide the title of your column, click on Disable Column Title .
- Save your menu.
Result:
Sidebars and Widgets
Custom Widgets
Saha comes with 21 cool custom widgets to give you more flexibility to customize your site.
- About Me: Adds a about me widget.
- Advertisement: Show your custom ads, adsense, amazon, etc easily.
- Banner: Showing a banner with of the text.
- Brand: Show your carousel brands.
- Contact Info: Add more information of your company so that your customers can contact you easily.
- Custom Links: View several useful links.
- Facebook Like Box: Allow you to display your Facebook Page in a Like Box, hence your reader can 'Like It' directly at your site.
- FeedBurner: Displays a subscription with FeedBurner.
- Flickr: Displays your latest flickr photos.
- Icon Box: Show a box with text and icon.
- MailChimp: Displays a subscription with MailChimp.
- Posts Carousel: Displays your posts in carousel.
- Posts Thumbnails: Displays your latest posts.
- Slider: Create a slider with many options.
- Social: Display your social media icons.
- Tabs: Display popular posts, recent posts, recent comments and tags in tabs.
- Testimonials: Displays testimonials in slider.
- Twitter: Display an official Twitter Embedded Timeline widget.
- Twitter List: Display your latest tweets.
- Video: Easily to display your video from some popular video website such as youtube, video, etc.
- WooCommerce Products: Display your products with effects, you can also see in carousel.
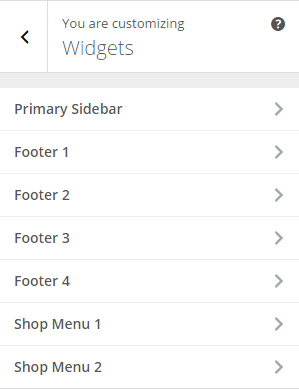
Sidebars
Saha provide a Primary Sidebar that appears on the right or left of your Single Post or Page, WooCommerce Sidebar for your shop page, single products, and Footer 1, 2, 3, 4 to add widgets to your footer.
Custom Sidebars
You can easily add new sidebar for your pages, posts, post type.
- Go to Appearance » Widgets .
- Enter an unique name to your new sidebar in Create Widget Area.
- Enter the widgets you want.
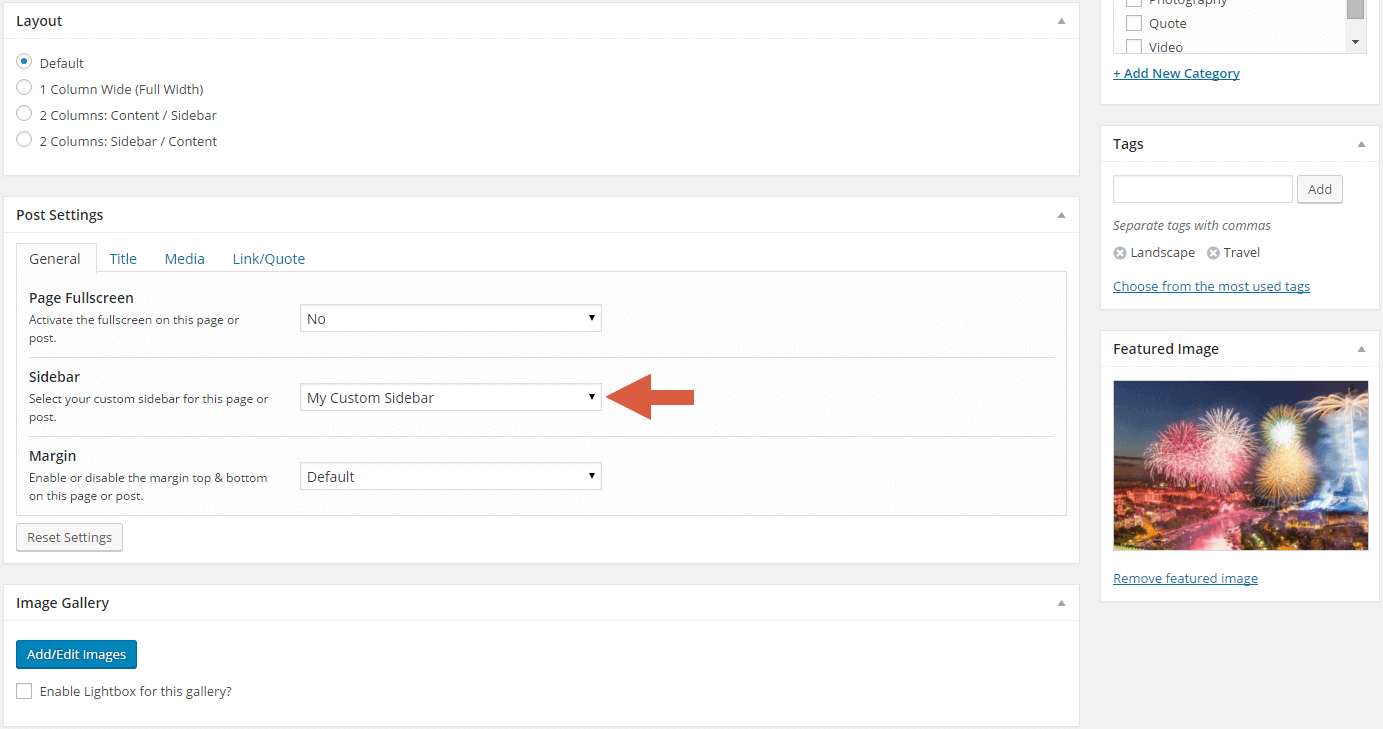
To add your new sidebar to your page or post, edit it and select your sidebar in Post Settings > Sidebar.
Customizer Setup
Our theme options are powered by WordPress Customizer. WordPress Customizer is a new and exciting feature that combines theme options with the ability to live preview those changes before saving them!
How To Access it?
- Select Appearance
- Then Click Customize
- We provide a lot of options for you to customize your website easily and with live preview!
General Customizer
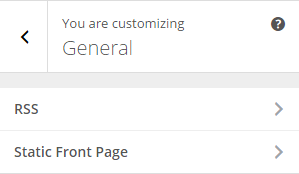
In the General panel you can setup some options like:
- Change your default RSS feed url to something like feedburner.
- Choose your Static Front Page.
Header Customizer
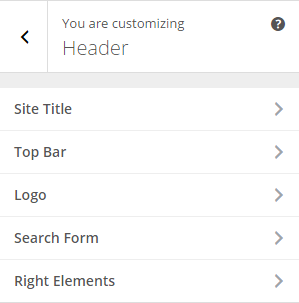
In the Header panel you can setup some options like:
- Change your Site Title, Site Description, and upload Site Icon.
- Show/hide the top bar, the top bar menu left, the top bar social, and configure your social networks.
- Upload your custom logo and favicon.
- Show/hide the header search and put the search default or ajax.
- Set options for the buttons to the right of the header.
Menus Customizer
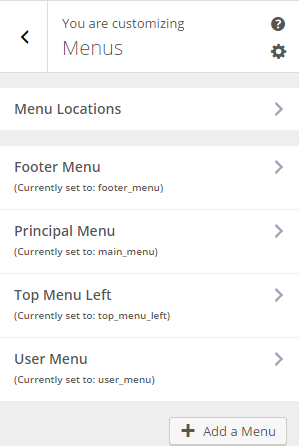
Set your menu items and menu locations.
Footer Customizer
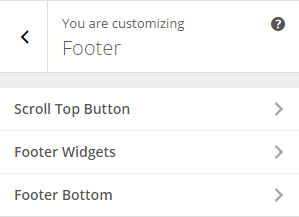
In the Footer panel you can change some options like:
- Show/hide the scroll top button and change the icon.
- Show/hide the footer widgets.
- Show/hide the footer bottom and edit the text.
Styling Customizer
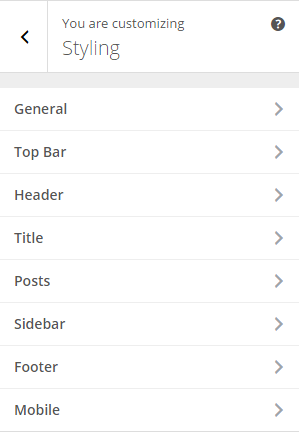
Edit all the style of the theme, top bar, header, footer, mobile, etc ....
Typography Customizer
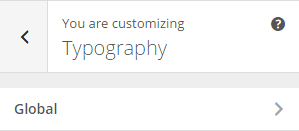
We package Saha with Google Fonts option, you can easily change the font family of the text content and the heading (h1, h2, h3, h4, h5, h6).
Layouts Customizer
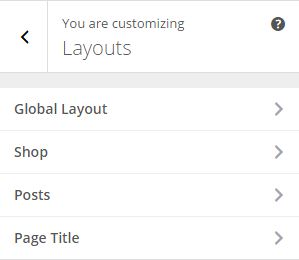
In the Layouts panel you can change some options like:
- Change the layout of your site, full width, right sidebar, left sidebar.
- Change the layout of your WooCommerce pages, full width, right sidebar, left sidebar.
- Set the options for your posts entry and single posts.
- Set the options of your titles for your pages and posts.
WooCommerce Customizer

In the WooCommerce panel you can change some options like:
- Show/hide the switcher of your shop page, set the number of products per page, set the number of columns and set the quick view options.
- Display the images in lightbox and show/hide the social share buttons.
Widgets Customizer
Insert your widgets into your sidebars.
Layouts
You can setup the layout per post or page. This is done when you add or edit the post or page. There are 3 types layout you can choose:
Layouts Type
- Full Width layout : Display the content in a full width mode or without sidebar.
- Left Sidebar layout : Display the content with sidebar on the left.
- Right Sidebar layout : Display the content with sidebar on the right.
Per Page/Post Basis Layout

- Assuming you're at the new post or page screen (Posts > Add New) or (Pages > Add New)
- After you create the post or page, scroll down and find Layout meta box.
- Choose the layout.
Meta Box
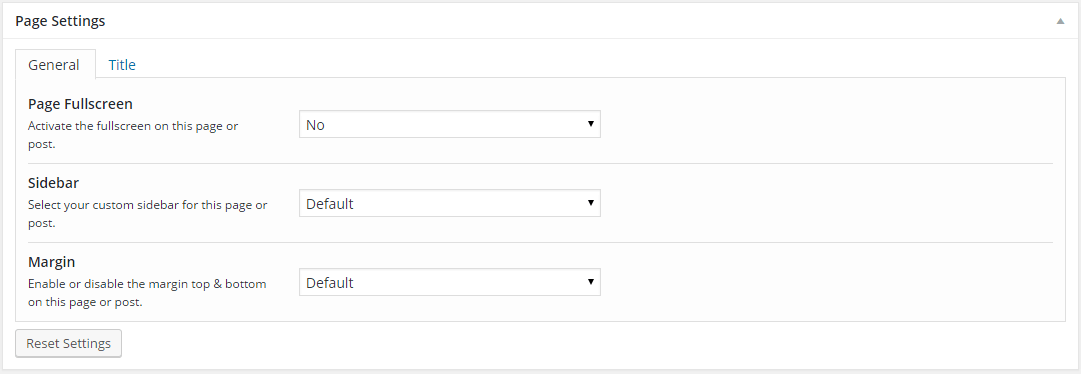
- Page Fullscreen : Show your page/post in full screen, ideal to put a slider in full width.
- Sidebar : Choose your custom sidebar for your page/post.
- Margin : Disable the margin top & bottom for your page/post.
Title
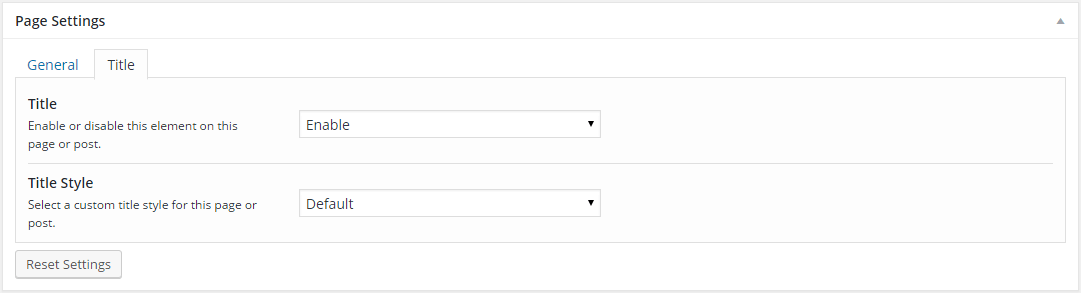
- Title : Enable or disable the title for your page/post.
- Title Style : Leave the default title style or add an image, see below.
Add Image To Your Title
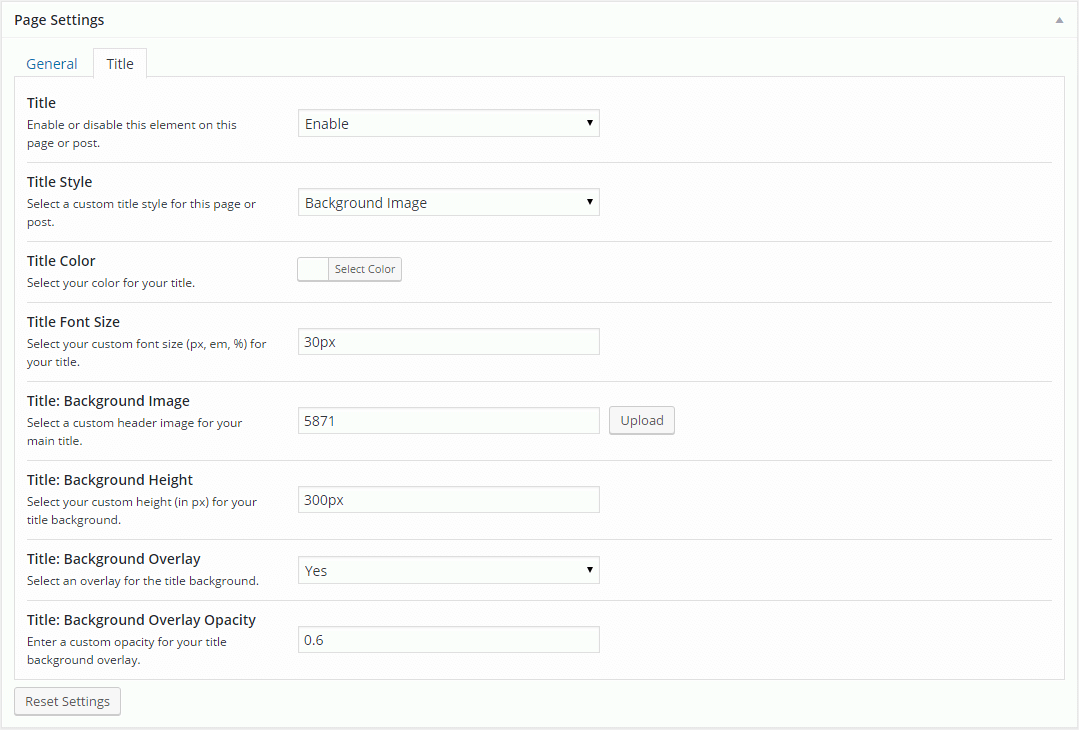
- Select Background Image in Title Style.
- Choose the color for your title.
- Enter the font size of your title.
- Upload or select your background image.
- Enter the height of your title.
- Show/hide the overlay for your background image.
- Enter the opacity of your overlay.
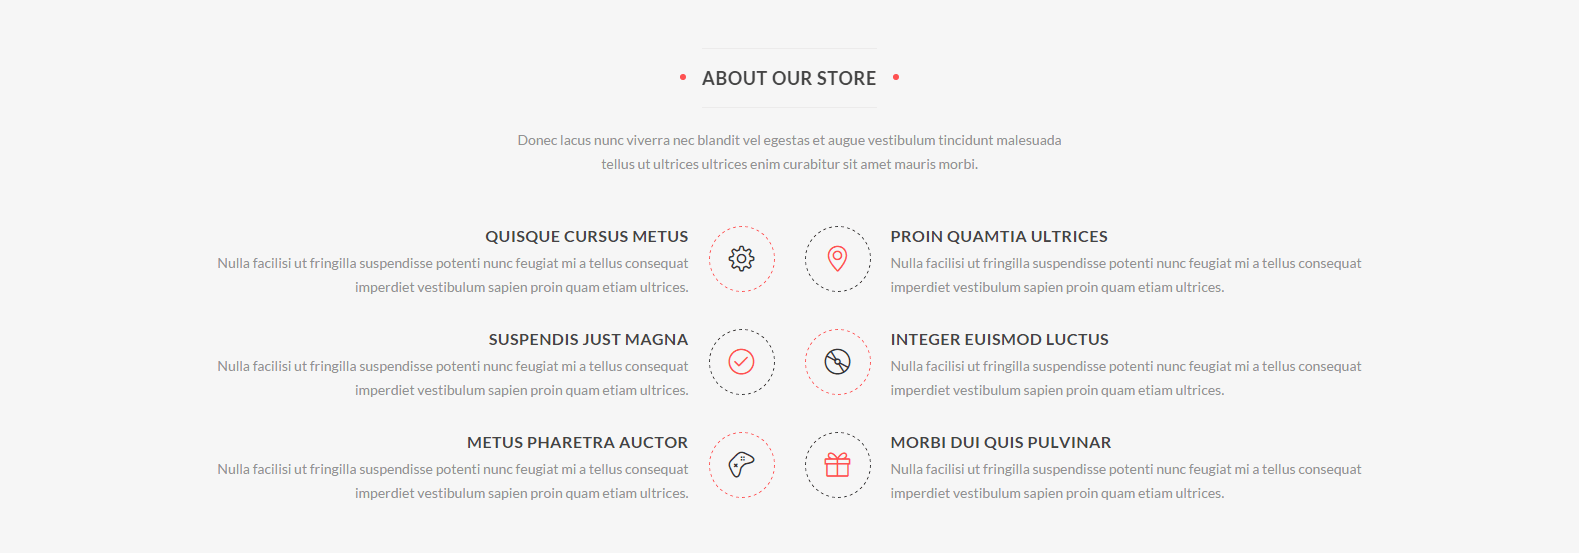
Result:

ImportantWhen you add an image to your title, breadcrumb disappears.
Page Builder
Saha is fully compatible with the free plugin Page Builder by SiteOrigin.
Page Builder by SiteOrigin is the most popular page creation plugin for WordPress. It makes it easy to create responsive column based content, using the widgets you know and love. Your content will accurately adapt to all mobile devices.
If you want to see the documentation of the plugin, click here.
Add Container To Full Screen Page
If you want a full-width background with text centered on your page, here are the actions needed to achieve this:
- In the Page Settings metabox, select the Yes option in Page Fullscreen.
- If you want to add more columns or widgets, select the widget Layout Builder, click on Attributes and check the Add Container Class option.
ImportantIf you add one widget to your row, doing the same actions with the widget.
Posts Format
Saha has several post format available.
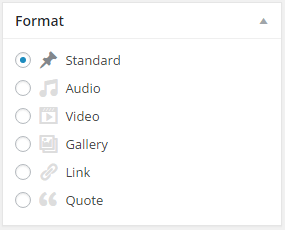
- Go to Posts » Add New or edit existing post.
- Choose your Format.
Audio/Video Format
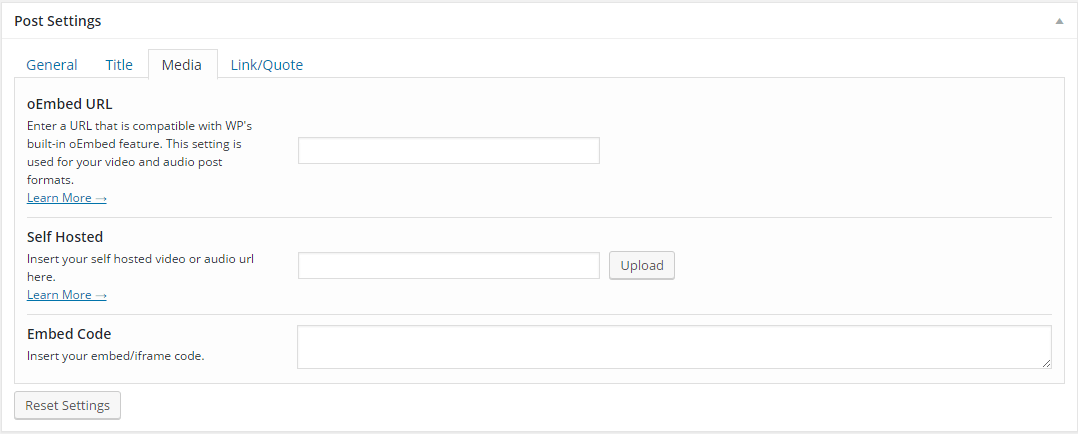
- Click on Audio/Video in Format.
- In Posts Settings meta box, click on Media tab.
- You have three choices, enter the URL of your audio/video, host your own audio/video file or insert the iframe of your audio/video.
Gallery Format
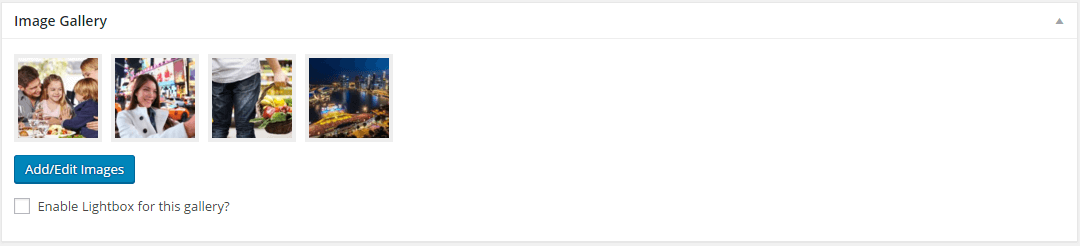
- Click on Gallery in Format.
- In Image Gallery meta box, click on Add/Edit Images to add new images.
- Click on Enable Lightbox for this gallery? to display the images in your gallery in lightbox when clicking with the mouse.
Link Format
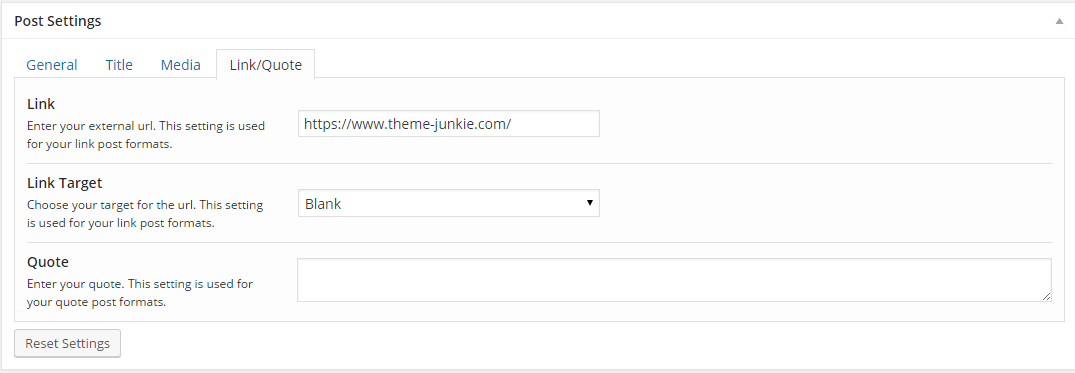
- Click on Link in Format.
- In Posts Settings meta box, click on Link/Quote tab.
- Enter the URL of your link and choose the target.
Quote Format
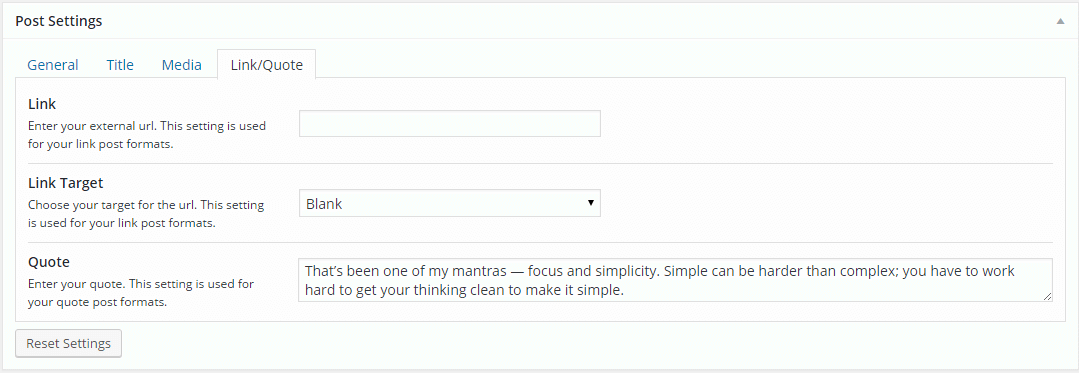
- Click on Quote in Format.
- In Posts Settings meta box, click on Link/Quote tab.
- Enter your quote in the Quote option.
Contact Form
You can use a custom Contact Form by installing Contact Form 7 plugin from WordPress.org repository for free. Please check the demo:Contact 1, Contact 2 to see it in action.
- Please download Contact Form 7
- Or you can go to Appearance » Install Plugins. Click install under Contact Form 7.
- A new link in the side menu will appear, click on Contact add new or edit existing contact form , copy the shortcode in your page.
- Finally, click the Publish or Update button to update your Post/Page.
Copyright and Credits
Resources Used
- Animate.css - MIT
- HTML5 Shiv - MIT/GPL2
- Superfish - GPL/MIT
- Magnific Popup - MIT
- FitVids - WTFPL
- scrollTop - MIT
- Owl Carousel- MIT
- SmoothScroll- MIT
- Tipsy- MIT
- WOW- MIT
- SwinxyZoom- MIT
- Mouse Wheel - MIT